In this article, we'll be exploring the three best Flutter example apps for developers starting their journey in this technology.
We'll start by setting up our development environment and creating our first Flutter app. Next, we'll discuss why example apps are so helpful for developers of all levels. Then, we'll explore each example implementation, discussing the problem they set out to address, the solution they implemented to this problem, and why this example is so great. Finally, we'll leave you with suggestions for additional examples to explore to further develop your expertise.
Now, it should come without saying, but this article is aimed at Flutter developers and people who want to learn about this technology stack. If you're a complete beginner on this, we highly recommend you spend a few minutes exploring the development resources of Flutter here.
Alright, let's move on.
Starting With Flutter
OK, so first things first. Let's make sure your environment is ready to run Flutter apps and actually work with these examples.
Don't worry. This process is extremely simple and short. You can skip this section if you have your environment set up and ready to work.
First, go to the flutter.dev website install section here and download the package for your operating system. In our case, we downloaded the macOS install package.
Once you've done this, extract the file and keep the extracted folder in a safe directory where it can reside for the time being. We like to keep things tidy, so we set it on the /documents/development/environments/flutter directory.
Next, open a terminal window or bash—whatever you prefer using—and navigate to the directory where you placed the Flutter folder. Then type the following command:
Note that this command only sets your PATH variable for the current terminal window. To permanently add Flutter to your path, see Update your path.
Excellent! Now you have all you need to run Flutter apps on your environment.
.png)
Mobile Development
Depending on whether you have Xcode and Android Studio or not, you might be able to emulate applications on these devices. However, you can always run your applications on the web without installing anything else.
To ensure everything is in order, run the following command, which will tell you what other dependencies you might be missing.
Finally, you'll want to have an IDE or editor so you can create and work with your Flutter projects, debug your code, and run your application. In our case, we'll be using VS Code because it offers excellent integration for all these requirements and is fast, lightweight, and free.
All you have to do is install the VS Code app by downloading it from here. Then look for the official Flutter extension, and install it.
You can find an extensive guide with more information on this process here.
Why Example Apps Are Helpful
In the journey of developing your programming skills, you might find yourself stuck and frustrated with an issue that prevents you from moving on. Despite your attempts to understand the material you're using to learn, the answer seems to be missing, and your time and effort seem to be taking you nowhere.
Thankfully, we're not alone in our journey, and many talented and dedicated developers have created a wealth of knowledge and material for you to rely on. As a result, for most cases, the answer to our questions is just a few clicks away and, for the most part, even customized to our specific needs.
However, there's still a small portion of issues for which the solution is not entirely evident, and the partial answers we might find add more confusion and complexity than before. This situation is terrible when you're just starting your learning process and have little to no experience sorting through and dissecting resources and material from the web.
That is why example apps are at the top of the search index for development inquiries, given that they offer a complete solution case and extra context information that you can use to understand the code and implementation provided.
Additionally, example apps can be a great starting point for a simple project that requires a solid foundation of code and best practices. This situation is particularly important when considering example code from the authors of the technology themselves, as they are best suited to create robust and reliable implementations. Be it simple concepts or complex implementations, example code can be handy to all levels of expertise and needs.
Alright, let's go into the code.
Form Creation and Validation Sample
You can find the form creation and validation sample code in the following repository: https://github.com/flutter/samples/tree/master/form_app.
You can clone/download and open the project in your editor of choice. Once you've done that, you'll notice plenty of directories referencing many different platforms. Don't worry if you don't understand this structure yet. You'll become more familiar as you learn more about the technology. For now, we'll focus only on the lib directory and the applicable code for form creation and validation.
As usual, you'll find that most of the actual code resides in the /src directory.
The implementation of forms in this project is very approachable and straightforward.
If you go to the 'main.dart' file, you'll find the definition of the four sample pages for this project with the 'demo' object. Notice that each page references a builder in the /src directory with the code to construct the respective widget. We'll focus on the 'validation.dart' file for this article.
Once you open this file, you can see the simple, albeit intimidating-looking, widget constructor for this class. Don't worry. Most of the code relates to the many functionalities you can add to each form element.
Now, let's focus on the TextFormFields' 'validator' property. Here, you can provide a simple block that validates the input value on submission. Then, all you have to do to give feedback to the user if invalid data is provided is return a string containing the feedback text.

Simple and clean.
Why This Is Great
The beauty of this example is that it offers so much with so little. For many developers who are starting their careers, ensuring that their applications are responsive and elegant can be quite a hassle, especially considering the sheer amount of customization and features that one can find on first approaching the platform.
However, robust and approachable sample code like this can be the perfect starting point to ensure that your code is professional and flexible.
Navigating and Routing Sample
You can find the navigating and routing sample code in the following repository: https://github.com/flutter/samples/tree/master/navigation_and_routing.
Following the previous sample code, you'll see here a more robust and flexible implementation of a navigation mechanism.

If you see the 'routing.dart' file, you'll notice that the files in the routing folder are being exported into the project.
As explained in the GitHub page of this project, "this library contains a general-purpose routing solution for medium-sized apps."
The way this works is quite simple.
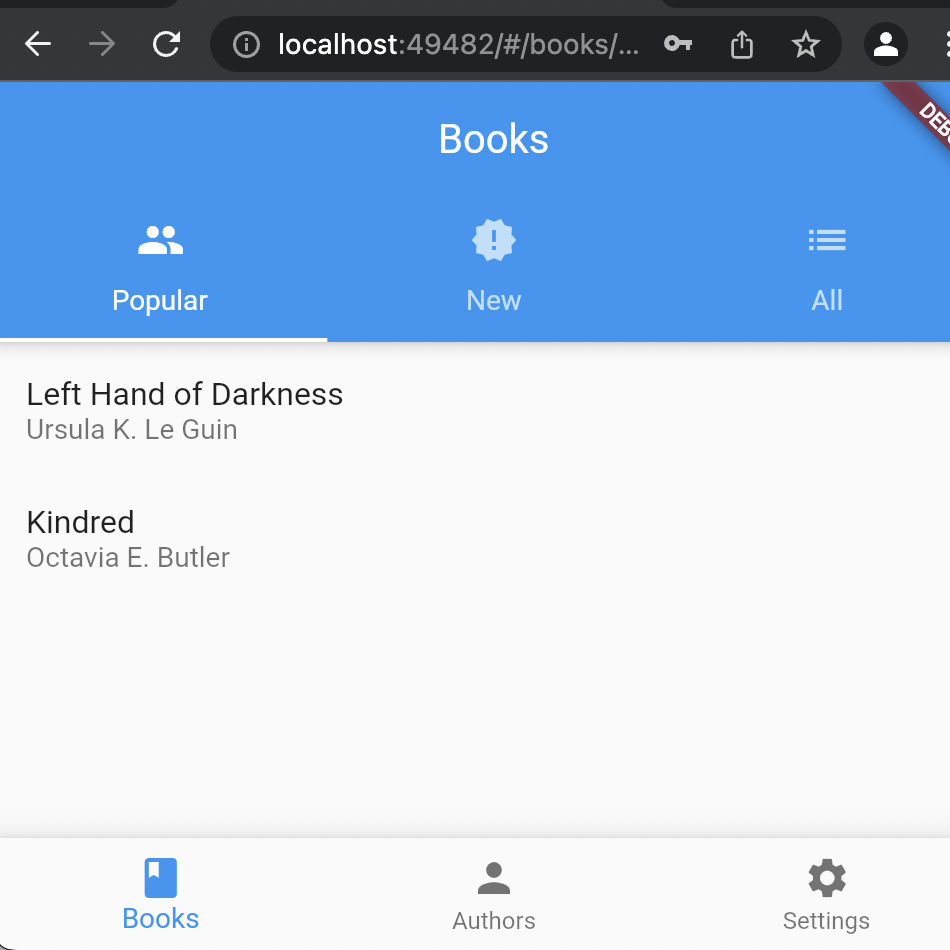
Firstly, the top-level widget—in this case, the Bookstore widget—sets up the app's state. Then, the app places three InheritedNotifier widgets in the tree, RouteStateScope, BookstoreAuthScope, and LibraryScope, which provide the current state for the application.
You can find more information about the classes and the intricacies of how it works in their Github page here.
Implementation
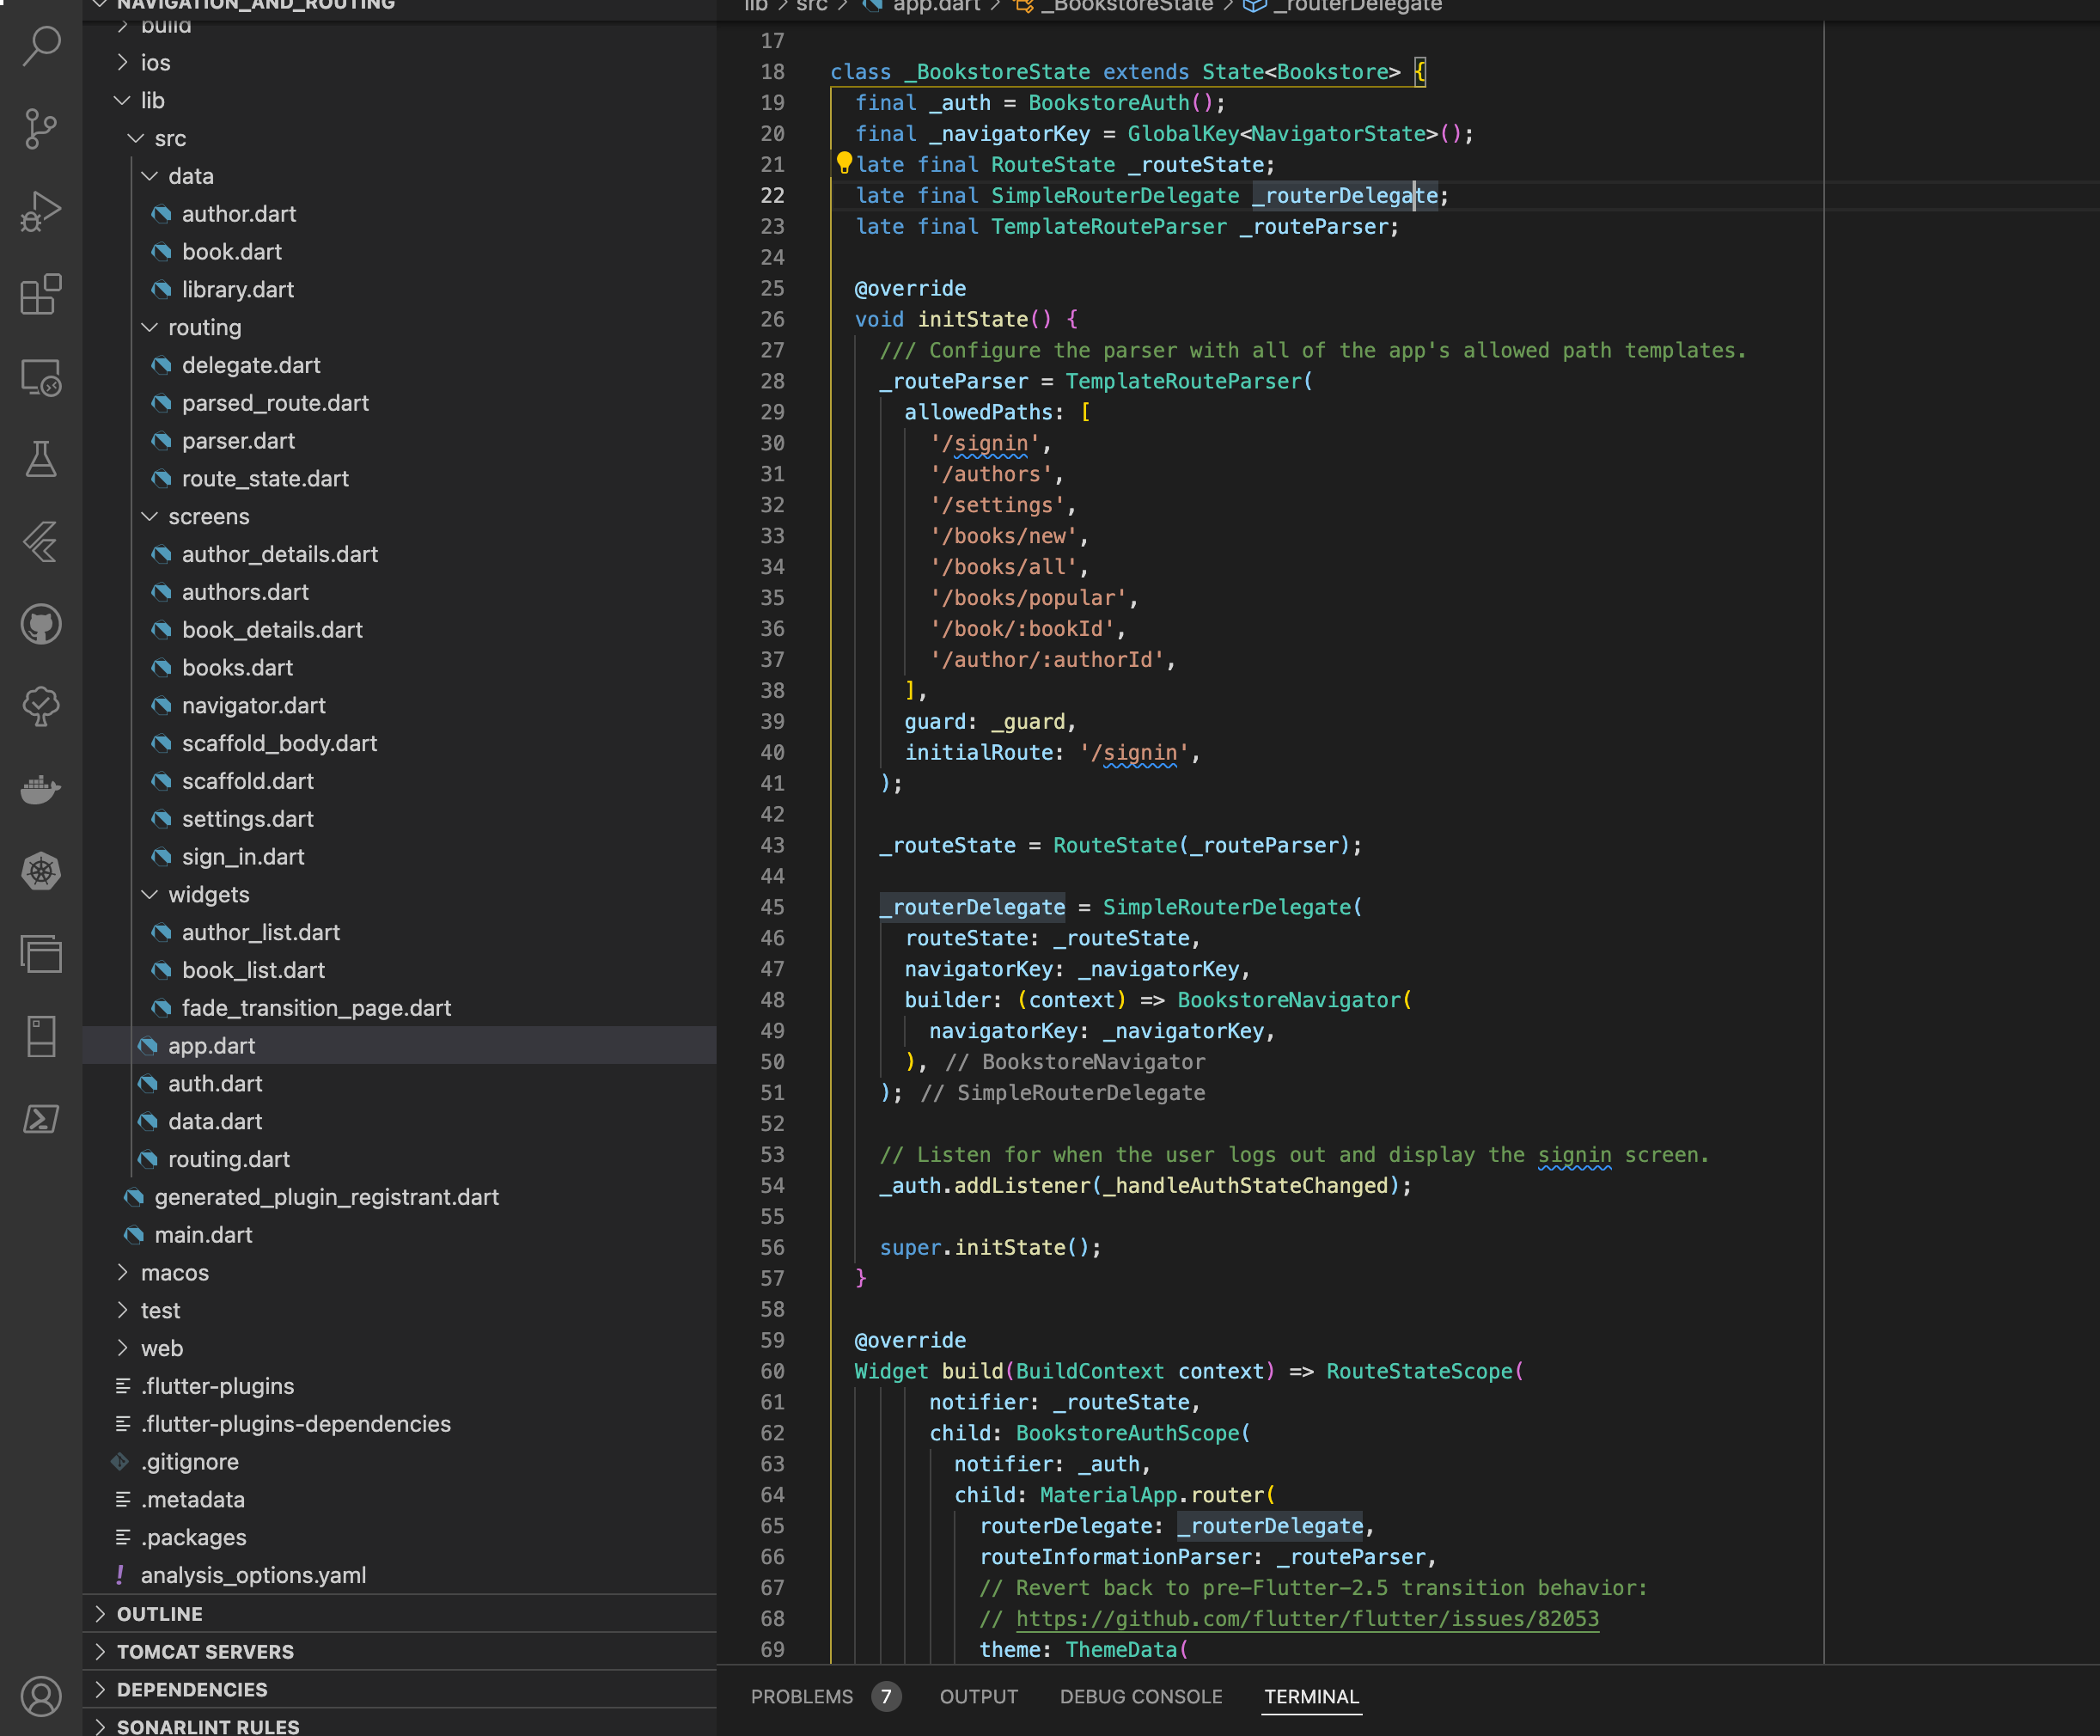
If you go to the 'app.dart' file, you'll see the implementation in action.
You can see that the route parser is initialized with the paths the application will handle. Then, the route delegate is set up with the builder and route state. And finally, the initial parsing is dealt with with a future guard to handle routing to the proper path in case authentication is required.
Notice that the SimpleRouterDelegate constructor requires a WidgetBuilder parameter and a navigatorKey. This behavior is needed because this app uses a BookstoreNavigator widget. This configures a Navigator with a list of pages based on the current RouteState.

The rest of the code is relatively straightforward for most basic Flutter small to medium-sized apps.
Why This Is Great
This example is excellent for developers who want to start from the get-go with a solid implementation of navigation on Flutter for a small or medium-sized project. Additionally, this structure allows customization flexibility if you need a more complex navigation mechanism.
If you need to start anywhere in your Flutter journey, start here.
Testing Sample
You can find the testing sample code in the following repository: https://github.com/flutter/samples/tree/master/testing_app.
For our last example, we'll look at testing. It's vital to make sure that we test our code properly.
Doing this can feel quite daunting and unapproachable, especially for inexperienced developers. However, this doesn't always have to be the case.
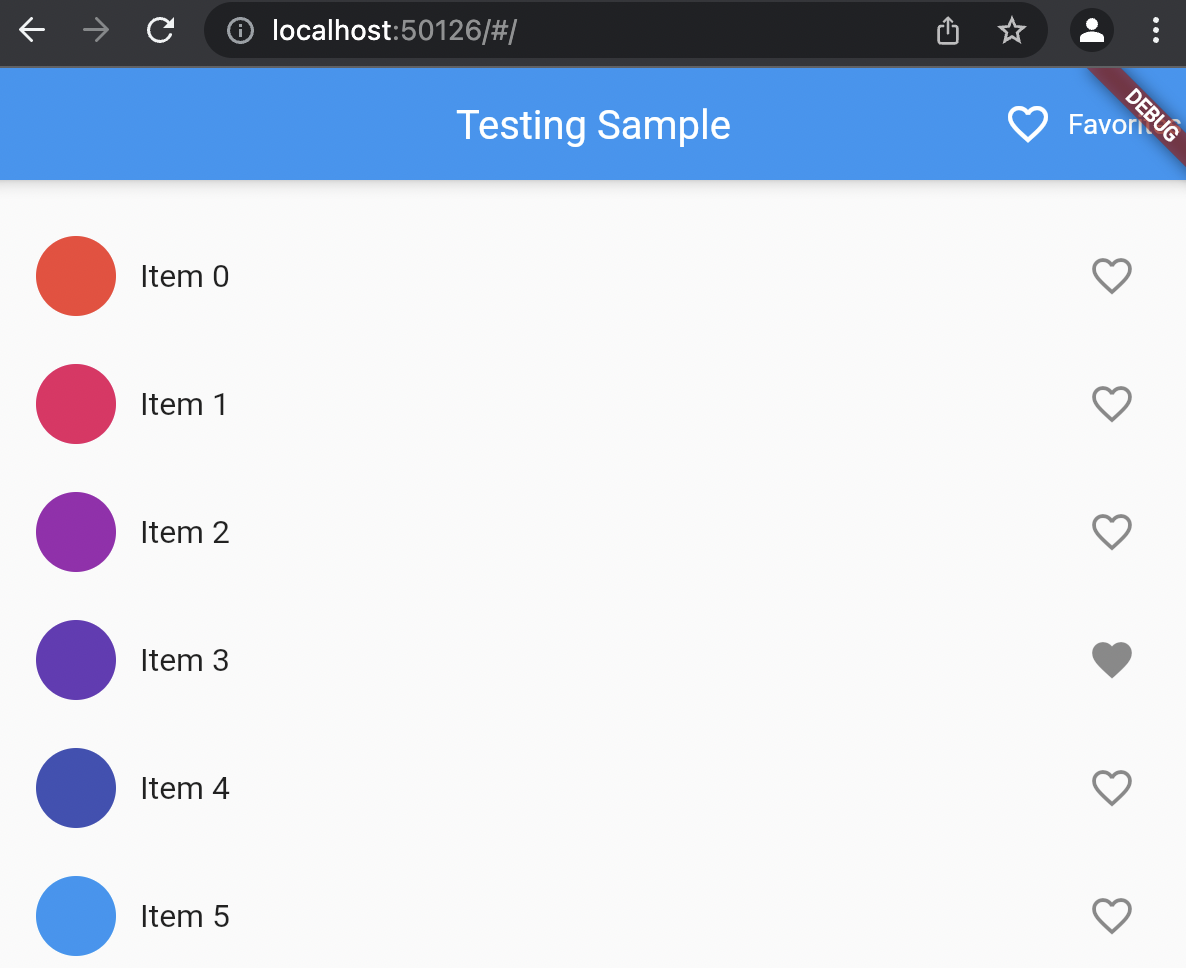
This project has a simple list widget with items you can favorite. Additionally it has a secondary widget view where you can see the items you have favorited. Pretty standard.
The core of the code lies in the /test directory where the test files reside. Here, you can see the 'home.dart' file and the 'favorites.dart', which contain the individual test cases for each widget.
These test cases are pretty simple and validate that the views display correctly and behave accordingly.
Running these tests is simple. By running 'flutter test' command, you can run all the test files in the /test directory. Additionally, You can run a particular test file by running the 'flutter test test/<file_path>' command, where 'file_path' is the path of the test file to run.
.png)
Why This Is Great
This example app is excellent for starting your Flutter test-driven development journey and testing your progress with actual code. This case is also great if you want to start understanding the basics and then make your way into implementing complex testing solutions for extensive applications.
Conclusion
Despite the extensive library of flutter example apps you can find online, it's essential to keep in mind that we're not guaranteed to find a solution, and not all solutions are the same.
Some online samples can only go so far for the cases where you need to provide a critical fix or strengthen your testing cases. So, in those cases, it's important to rely on solutions that offer a more robust and complete testing tool like Waldo's behavioral replay engine.
Our engine can handle dynamic screen in your app, load time variations, and other issues to provide your team with real-time and reliable information on your projects.
You can check it out here.
Automated E2E tests for your mobile app
Get true E2E testing in minutes, not months.


