As a developer, it's easy to end up in a tight situation when something goes wrong with the mechanism that makes money for your client. Additionally, being responsible for promptly identifying and addressing the issue can be overwhelming, especially when your application has a large user base and went live with a bug. Best to make sure you get it right the first time. That way, you can avoid the endless headaches and stomach problems that come with team leadership in a payment-enabled application team.
In this article, we'll explore how to integrate the payment platform Stripe into a React Native project. The goal is to help you set up Stripe on your existing project and identify potential issues in an existing Stripe implementation.
First, we'll introduce Stripe and briefly explain how it works. Then we'll go through the steps of creating a Stripe account and integrating Stripe in a React Native application using Expo. Finally, we'll briefly address some of the common issues you might run into with Stripe in React Native.
If you don't have a React Native project set up or don't have much experience with React Native, this article might not be for you. However, we encourage you to get acquainted with it and to return once you feel more confident.
Let's move on.
What Is Stripe?
Stripe describes itself as a "Payments infrastructure for the internet." In essence, Stripe provides software and APIs to accept payments, send payouts, and manage your businesses online.
Stripe is the fastest growing and most used payment gateway on the market. It supports many payment options like Apple Pay and Google Pay. Additionally, you can easily integrate Stripe into your application with its robust and versatile API and numerous libraries. What made Stripe so popular is that it can cover virtually all payment requirements within your application.
Developers can implement various payment gateways in React Native applications like PayPal, RazorPay, Braintree, in-app purchases, etc. But Stripe shines above most with its robustness, extensive resources, and excellent support.

How it Works
There's a lot of complexity in the transaction management process behind Stripe. But we don't have to be concerned with that.
When you initiate a payment transaction in your application, you request a unique transaction token from the Stripe server. Once your application receives this token, you must send it to your server for the transaction to start. This is because your server is the only gateway that can communicate with Stripe for payment processing. Once the payment is acknowledged and complete, the Stripe server sends a success message to your server. Your server can then communicate with the application to complete the process.
Now that you understand the transaction process, let's get into the implementation.
Setting up Your Stripe Account
First, you have to create an account and register your application on the Stripe website.
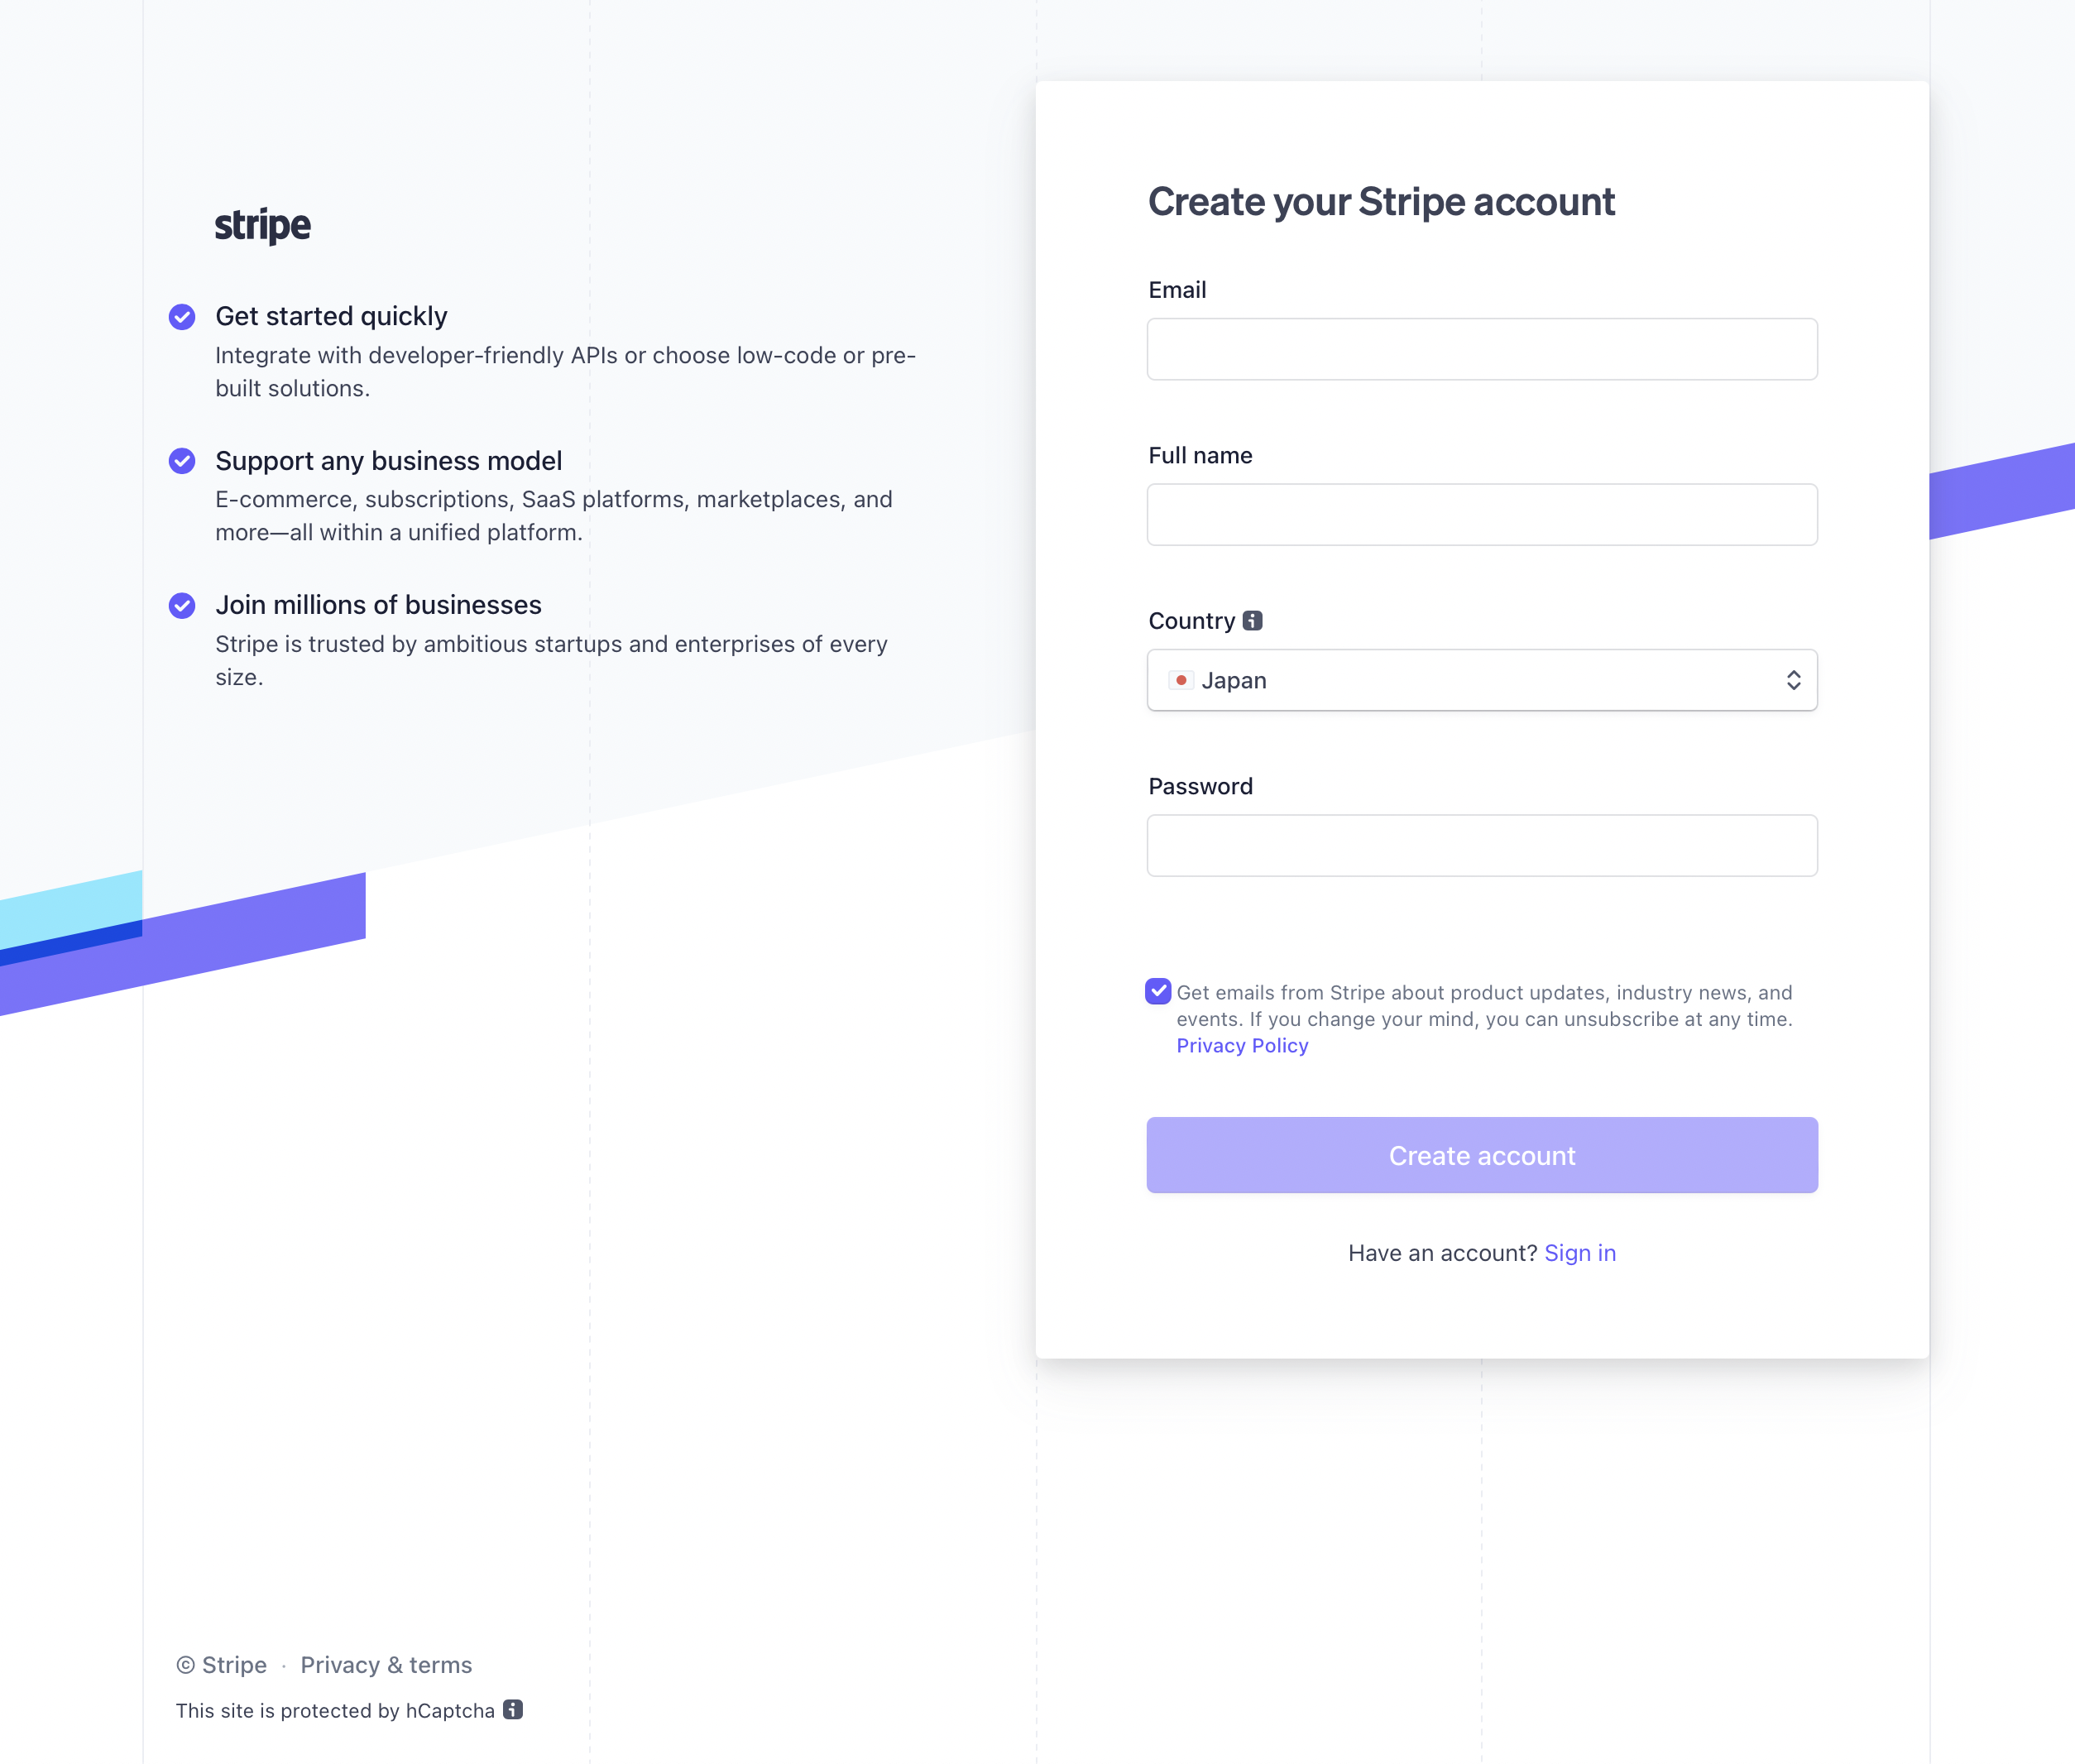
Go to Stripe.com and fill in the details for a new account.

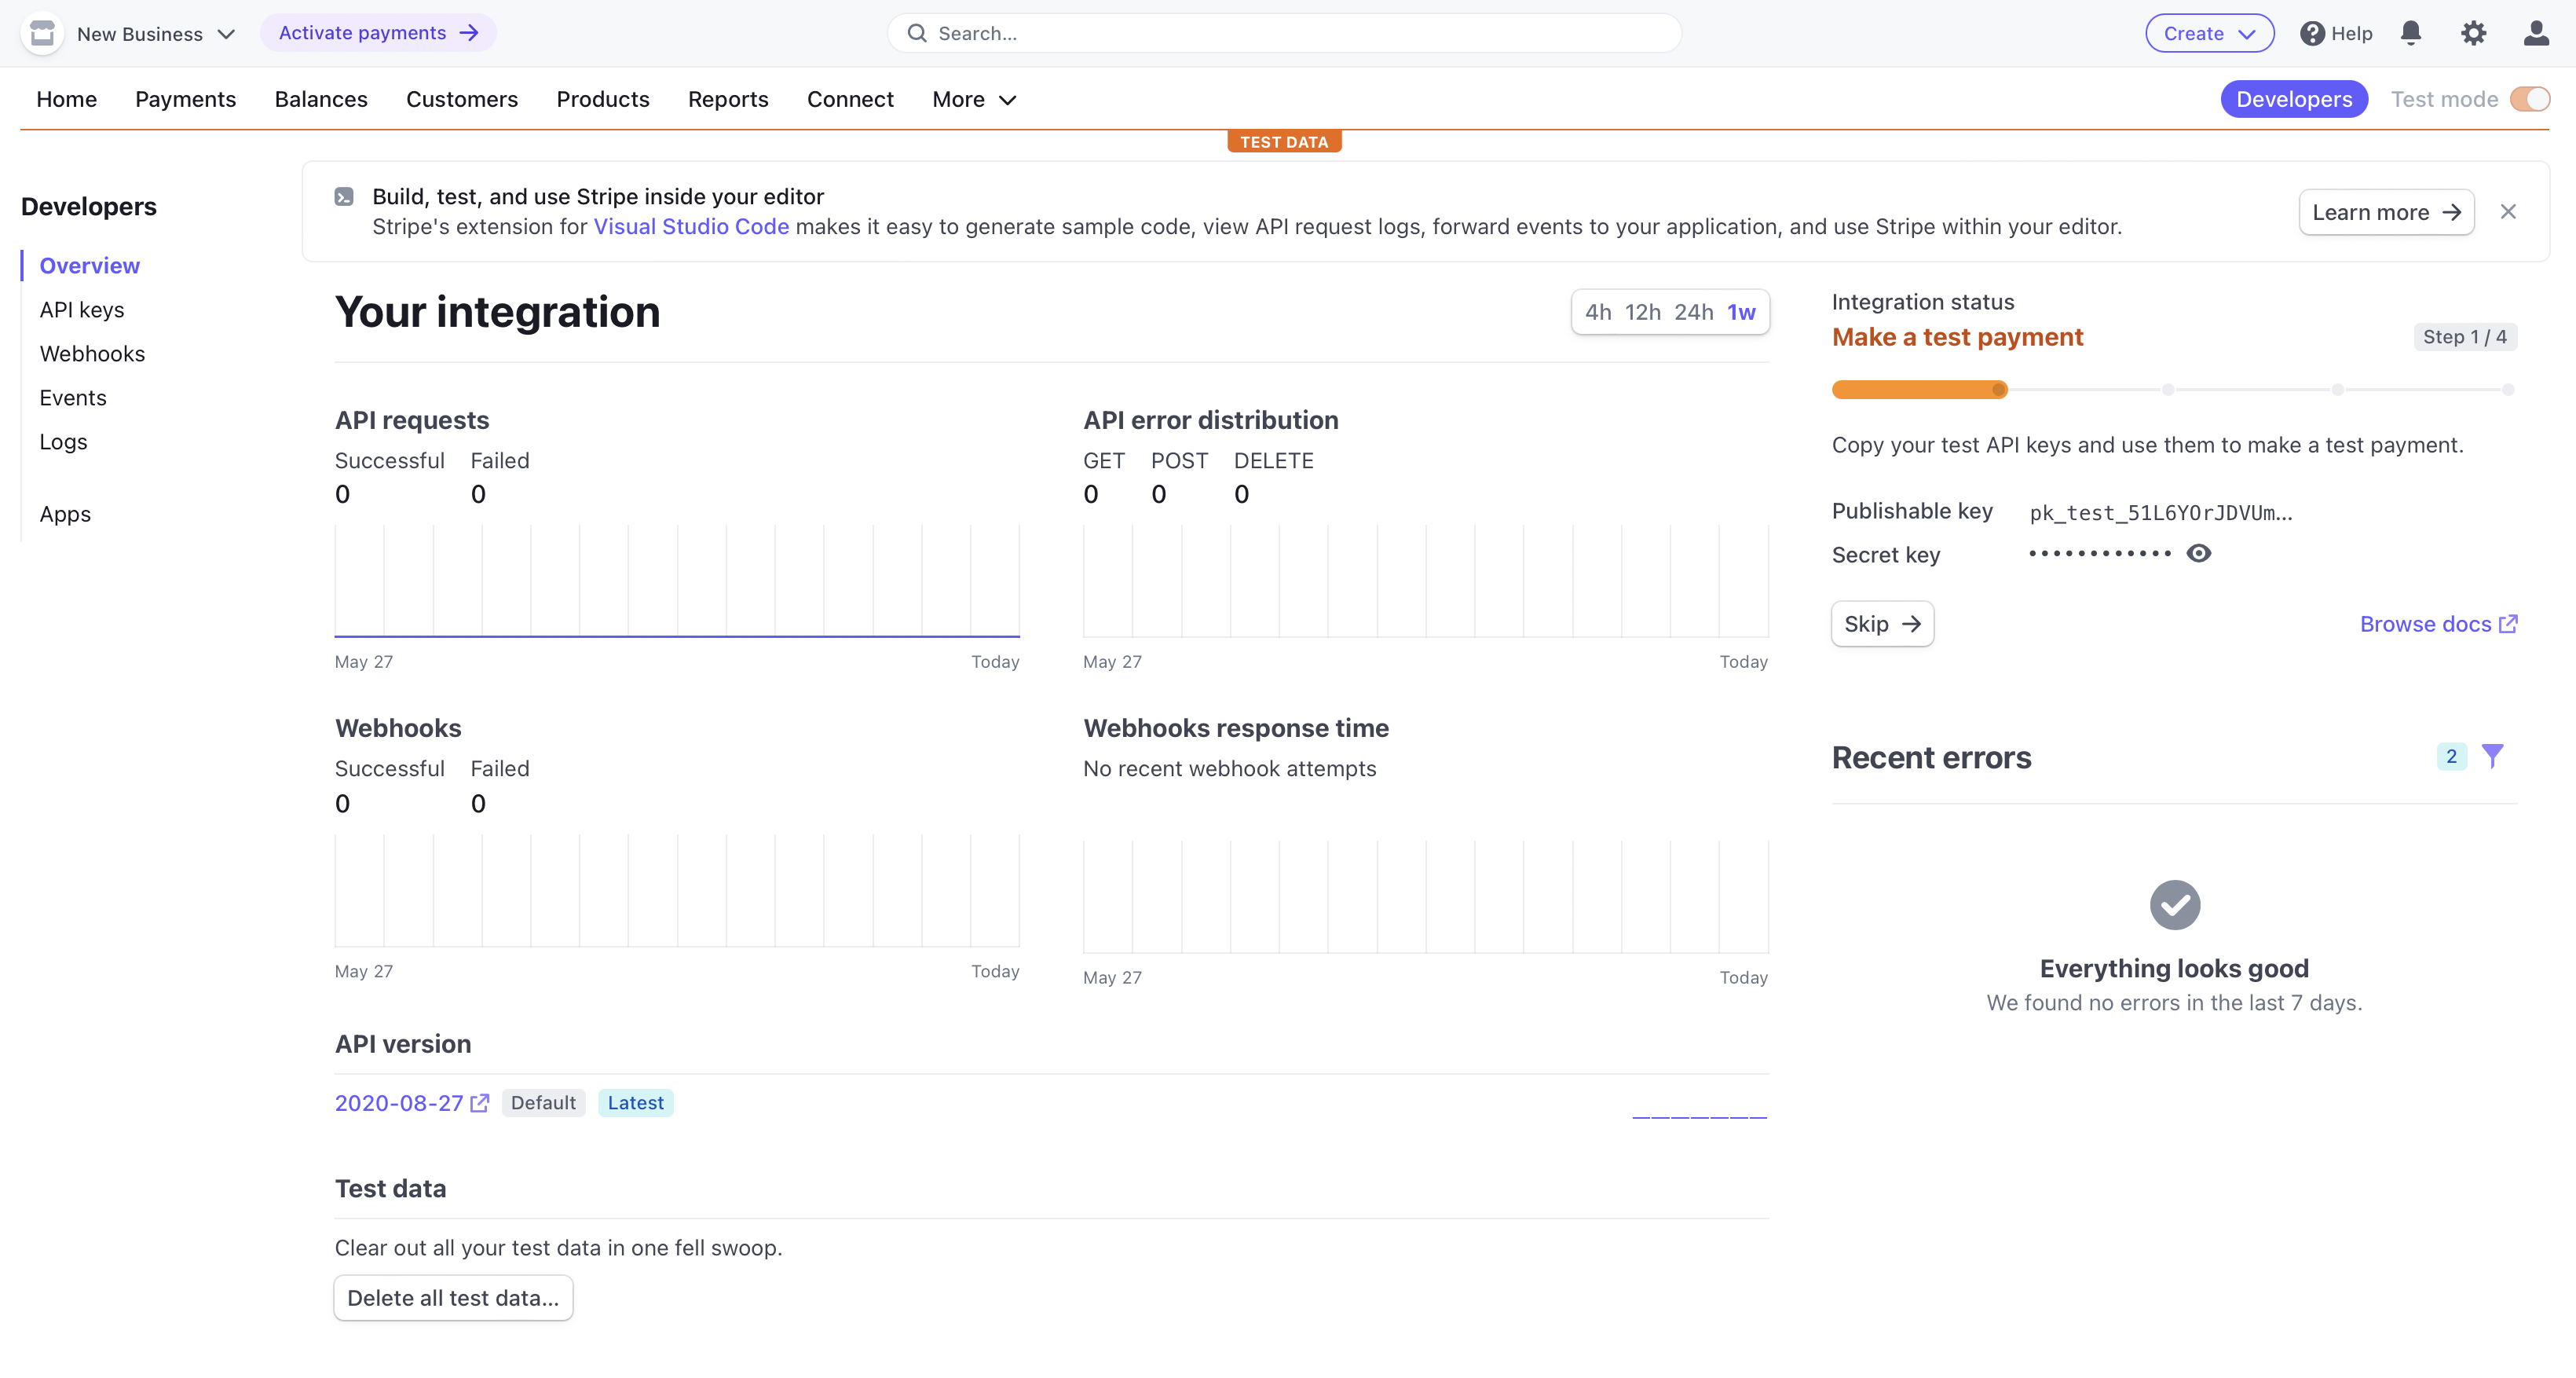
After you've validated your email, go to the dashboard and locate the developers' tab in the top-right corner of the screen.

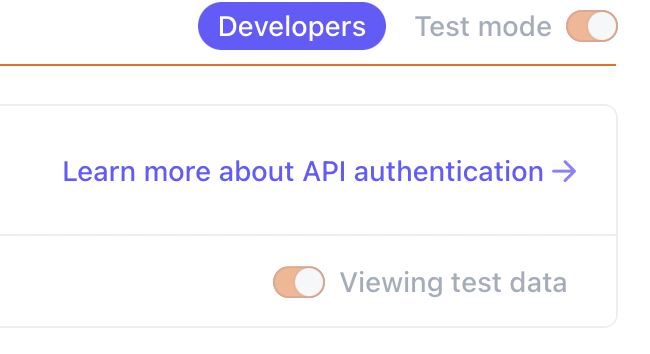
Once there, make sure you're working in 'Test data' mode by flipping the switch on the top right corner of the screen.

Now look for the 'API keys' button on the left corner of the screen and click on it to see your API credentials. These credentials are very sensitive, so keep them safe.
Here the publishable key is the credential you use to connect to the Stripe API to generate the initial token generation stage. In contrast, the secret key enables your server to authenticate with Stripe's service for the payment processing stage.
Integrating Stripe with React Native
Alright, now that you have the credentials that you need to connect with the Stripe API at hand, let's incorporate the necessary logic to communicate with Stripe and perform transactions.
The first step is to install the Stripe SDK.
To do that, run the following command:
If you use Expo for your project, you can run the following command:
Additionally, you need to update the 'app.json' file in your project root to include the following:
Remember to set up the proper values on these parameters.
Platform Requirements
The Stripe React Native SDK has some requirements that you need to meet to support the Android and iOS platforms correctly.
For iOS:
- Minimum iOS 11
For Android:
- Minimum Android 5 (API level 21)
- Minimum Android Gradle version 4
Now, let's look at the specific steps you need to follow for each platform.
iOS
After installing the Stripe SDK package, find your project 'xcworkspace' and open it in XCode. Make sure to set your deployment target to iOS 11. Once you've done that, run the project to ensure that the changes take effect.
Now, find your 'podfile' in the iOS folder in your project and update the following parameter:
Finally, run the following command to install the Stripe native dependencies for iOS:
Android
To use the CardForm component, you need to install and configure the Material Components theme in your app.
To do that, add this dependency to your 'build.gradle' file with the specified version.
Then, set the proper style in your 'styles.xml' file.
Necessary Components
Now that you have the SDK package integrated into your project, it's time to create the components that will render and execute the transactions.
Create a new component named 'paymentScreen.js' and add the following code:
Now, import this new component into the screen where you want to display the payment component by adding the following code to your render:
Make sure to provide your publishable key.
Now, this is just a basic card component that sends card details directly to the Stripe server for real-time validation and then stores the state of the component. Use this groundwork to create a more detailed and elegant component view.
You can find more information here.
Common Issues with Stripe in React Native
One of the most common issues you might find when implementing the Stripe SDK package is a misconfiguration with the architecture: "Undefined symbols for architecture x86_64." However, this error is relatively easy to address.
Open your project in XCode and create a new swift bridging header file called 'fix.swift'. Now add the following code:
Another common issue is browser pop-ups not redirecting back to your application. This happens because you need to make sure to pass the correct 'urlScheme' to the 'initStripe' method. Here's how you can do that:
The 'Linking.createURL' method will guarantee that you're using the proper scheme, whether running in Expo or production. Additionally, '/--/' is necessary for Expo applications because it indicates that the substring that goes after this string corresponds to the deep link path and is not part of the path to the app itself.
Moving On
One of the most critical and delicate aspects of a development project is integrating a payment service. Whether it's an in-house solution or a third-party platform, the sensitivity and complexity of the integration process are significant and sometimes overwhelming. There are so many avenues and alternatives to provide this feature, and it's easy to get lost in the endless complexity of transaction management, critical use cases, and library governance.
If you want to ensure that your project is stable and ready for primetime without dealing with tedious and time-consuming testing development, check out Waldo's code-free testing solution. The platform is built to offer you the flexibility and robustness that you need to ensure that your work is in shape. You can learn more about it here.
Automated E2E tests for your mobile app
Get true E2E testing in minutes, not months.


