SwiftUI makes creating front-end elements for Apple devices simple. Using SwiftUI brings modern themes and functionalities in a set of tools and APIs that extend across all Apple devices: iOS, watchOS, iPadOS, macOS, and even Apple tvOS. A constantly present component in all these outlets is the SwiftUI List.
This tutorial pays particular attention to SwiftUI’s List element. We’ll explore both static and dynamic lists along with the data types you can display with them. Read to the last word and learn not only how to create SwiftUI Lists, but format them as you intend. Finally, we’ll also show you how to perform UI tests that guarantee your lists render correctly across all device options.
Introduction to SwiftUI Lists
The first thing you should know is that SwiftUI is not activated by default when creating new projects in Xcode. When creating a new project, make sure you check the “Use SwiftUI” checkbox. You can follow along with demonstrations in this tutorial by creating a sample single view app instance on your machine.

Typically, a list is either static or dynamic. The main difference between these options is that with static, the list items and types are defined before the view is populated. Dynamic SwiftUI Lists use identifiers to single out the type and value of every list item. Dynamic lists also change with every addition you make to the list items. You’ll see how this happens a little later in this tutorial. Let’s dive into static list creation first.
How to Create a Static SwiftUI List
Once you’ve created a sample single view app, replace the default “hello world” struct with the code below:
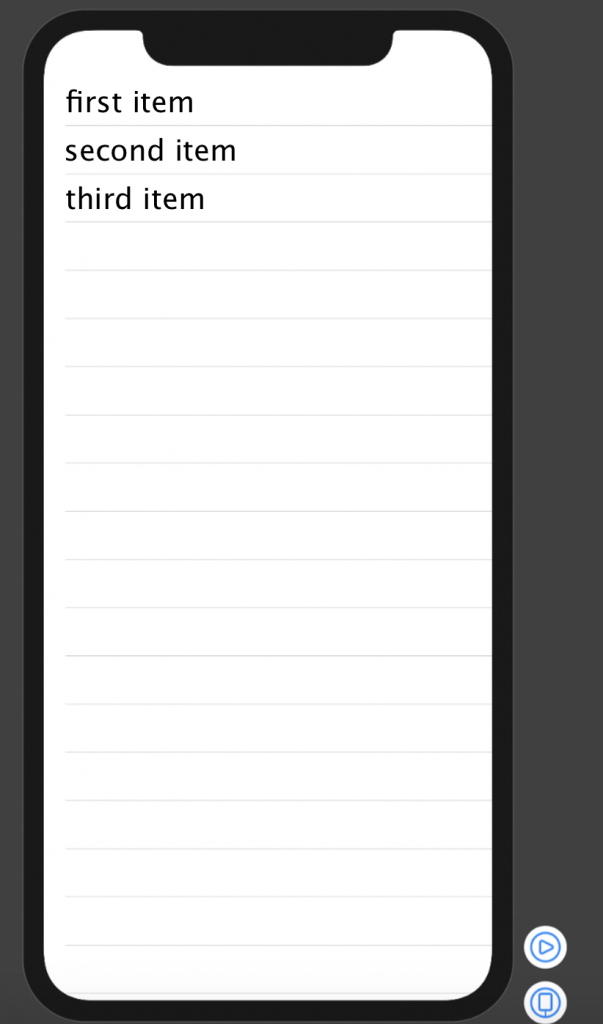
Import SwiftUI pulls functionalities and APIs from the SwiftUI library for you to use in your code. This list will have a line item for each list item you can add (in this case Text) already created as shown in the preview below.

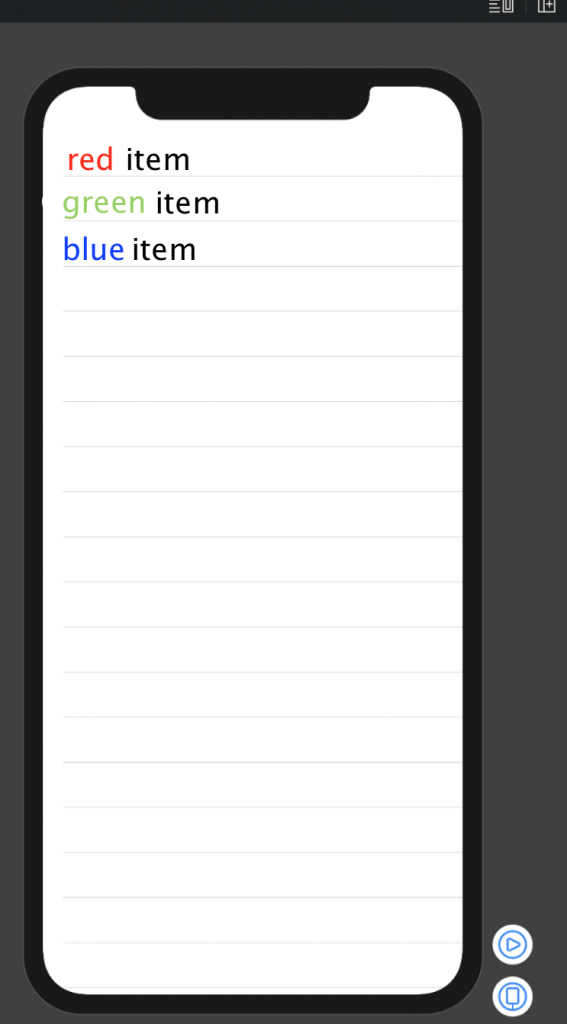
That’s it! For the very simple list requirement, you’ll have this element wherever you need to show content in list format. Playing around with SwiftUI’s frozen structs for drawing and animation adds aesthetic appeal to your list. To demonstrate this in our example, we can change the first words in each list to color names. It’s only fitting that we then change each color to its visual representation.
The resulting preview looks much better than the first. Wouldn’t you agree?

A lot of times we’d want a more sophisticated list than this. Adding an array to hold values before we list them is a step in the right direction. Let’s see how we achieve this in the next section.
Creating Array-Based Lists
Let’s say you have a growing array of items that you need to display in a list. Keep in mind that even as the array list grows, the resulting list is still a static type. The new list items are appended to the original, yes, but this happens once in the back end and not at runtime. Let’s add an array to our source:
Here we now have created the array coloredstuffList to hold the various line items we want to show in our SwiftUI List. The body itself picks the line items based on the id: \.name variable. The identified array item to list can be anything accessible in the array. This could have been the color if you needed it.
A caveat with this way of listing array items is that if you were to change the name of an indexed item, the color would stay the same and our list could actually have text that says “red” but be green in color. This mismatch is a loophole that we can patch by avoiding the use of \.name as an identifier. Ergo, the identifiable protocol.
Using SwiftUI’s Identifiable Protocol
The identifiable protocol forces us to include a washable type (for example, int) as a unique identifier inside every array for reference. The resulting code, with bolded areas to signify changes, would look something like this:
To this end, an identifiable list is one that fetches line items from an array (any data source really) based on a washable ID variable mandatory at the point of extraction.
Now that you’re capable of creating relatively complex static lists, let’s look at how the same link can be turned dynamic.
How to Create a Dynamic SwiftUI List
The ability to add list items upon interaction with an app’s interface elements makes a list dynamic. As usual, we’ll be adding code to our sample app to see our changes in preview. Keep in mind that lists are usually navigation points to contextually relevant app pages. As things stand, our code neglects the possibility of moving to different modules from interaction with list items. In fact, the only interaction possible is that you can read the items. SwiftUI’s library includes a NavigationLink function that you can call into your applications.

Here’s the declaration syntax and a snippet example specific to our sample app:
For learning and functional exhibit purposes, we’ll be adding a button as a navigation link to our app. The “action” of the said button should be to add random list items to our list. Hence, dynamic. You must love the way SwiftUI makes it easy to achieve all this. Starting with a few lines of code that turn our original list into a NavigationView with a title of our liking.
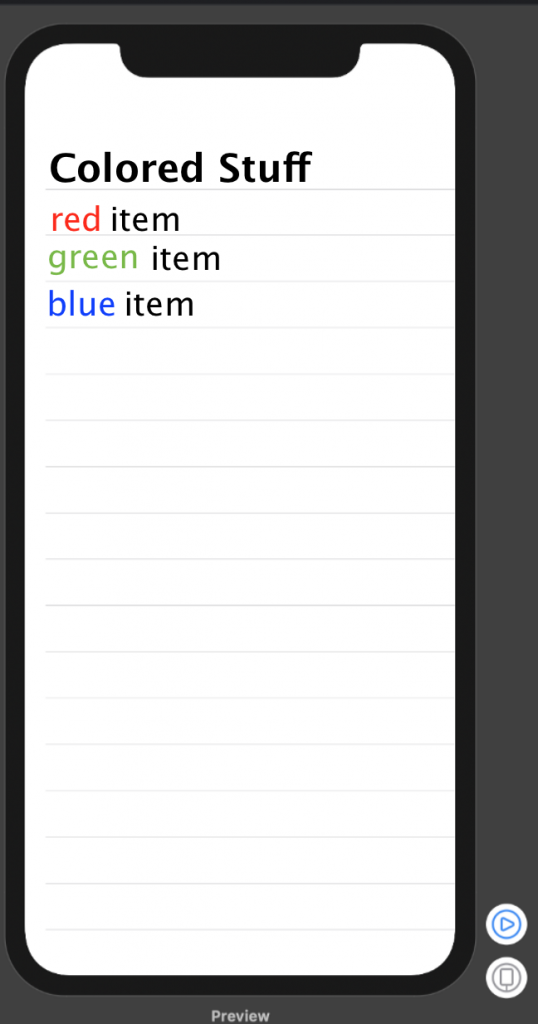
The resulting app preview looks like this:

A good way to implement the static nature of lists is by using a property wrapper to read inside an array of values. To make the execution fun, we’ll pair the implementation with the randomElement() function on the array as well. Your new code, with changes highlighted, should now look like this:
At this stage, our sample app has evolved from a static list display to one that randomly adds an array item to the display. In real time.

Running SwiftUI List Tests
Testing your app as it morphs into an MVP is no mean feat. In fact, if you were to neglect it entirely, you’d only hate the bad reviews you’d get from users. While testing your apps has always been associated with writing separate lines of code for the tests themselves, you’re better off using no-code options.

No-code mobile app testing with Waldo cuts short the time it takes you to run comprehensive tests on your applications. The option to record your application’s transitions for future automated tests saves you the burden of creating test scripts from scratch each time you need feature functionality assurance. In the case of our sample app and SwiftUI Lists, transitions and expected actions on interaction would take less than a second to test. Leaving you to worry more about developing the app than worrying if it will actually work as intended.
As promised in the first passages of this post, you should be able to use Waldo to run automated tests for whichever device you’re making apps for with SwiftUI Lists. If saving thousands of hours on app testing and removing complexity in the process appeal to you, take Waldo for a spin and see why reputable app-dev houses are signing up too.
This post was written by Taurai Mutimutema. Taurai is a systems analyst with a knack for writing, which was probably sparked by the need to document technical processes during code and implementation sessions. He enjoys learning new technology and talks about tech even more than he writes.
Automated E2E tests for your mobile app
Get true E2E testing in minutes, not months.


